Notice the corrosion build-up on the parts of the lantern frame where the bolts passed through.
The damaged hinge was removed and its remains filed down in preparation for a replacement.
In typical GEC fashion, two of the three 3⁄16″ grub screws were removed without too much effort, but the third was considerably more stubborn and would require drilling out, the hole re-tapping and a new grub screw inserting.
The nut and bolt securing the porcelain connector block also put up some resilience, but did release after being heated with a blowtorch. This caused the porcelain to break, although it was already damaged upon acquisition, and wasn't to be re-used anyway. The earth screw was also in no hurry to go anywhere, and this too remained jammed.
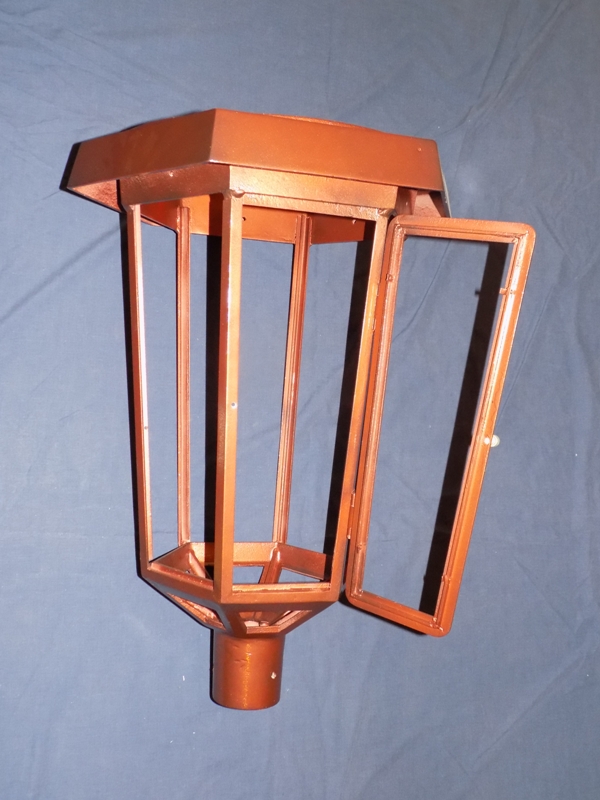
The lantern returned from having its door hinges replaced in early October 2018. With thanks to TAS Engineering of Burton-Upon-Trent for carrying out this work.
Once the frame is repainted, the new hinges will blend into the frame with ease.
Proof that the door opens smoothly now!
Meanwhile, the polycarbonate glazing panels were given a much-needed wash, in order to remove approximately 33 years of road-produced dirt from them. The panels employed in the upper section of the lantern are seen below, following their cleaning.
The lantern frame, canopy and internal reflector were sent to a local refurbishment company for stripping down and repainting. The external metalwork was repainted bronze, whilst the reflector was repainted gloss white.
This shade of bronze complements the 1970s' design of the lantern.
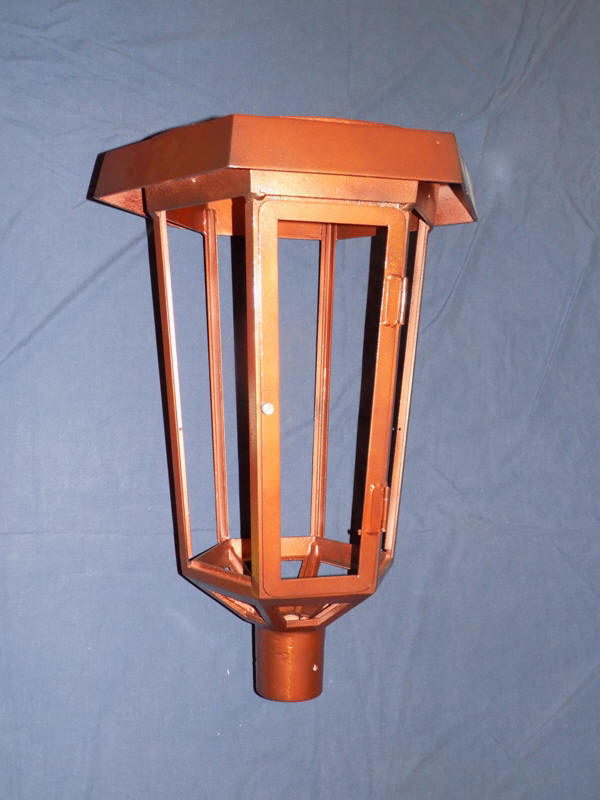
The bare lantern frame, still awaiting the fitting of the components.
On Friday, 23rd November, the frame was attached to a post-top stand using new grub screws, and the lower glazing panels were reinstated, with hot-melt glue securing them into position.
For ease, new wiring was introduced, and the lamp support re-fitted, prior to the replacement of the upper glazing panels (except for the door panel).
Whilst the door panel is secured by four tabs that push into place and hold the panel rigid, the 'fixed' panels are held in place with angled aluminium strips. The worst of the corrosion to these was removed using an abrasive soap pad. A strange quirk with the lantern, as acquired, was that the frosted effect of the glazing panels faced outwards in the lower section, and inwards in the upper section. All of the panels were turned for the frosting to face outwards as part of the restoration.
With the upper panels installed (complete with new foam gasket strips at the top of each), the next task was to re-fit the lampholder and control gear to the reflector. Unfortunately, the slotted heads of the terminal screws on the existing ballast were too worn to allow them to be moved, and my spare ballast of the same type was discovered to have an earth fault. Thus, a modern electronic 35 Watt SOX ballast was drafted in as a last-minute substitute, and fitted perfectly in the available space on the reflector.
With the lamp, canopy and finial back in place, the door was closed, and the lantern was all set to run again.
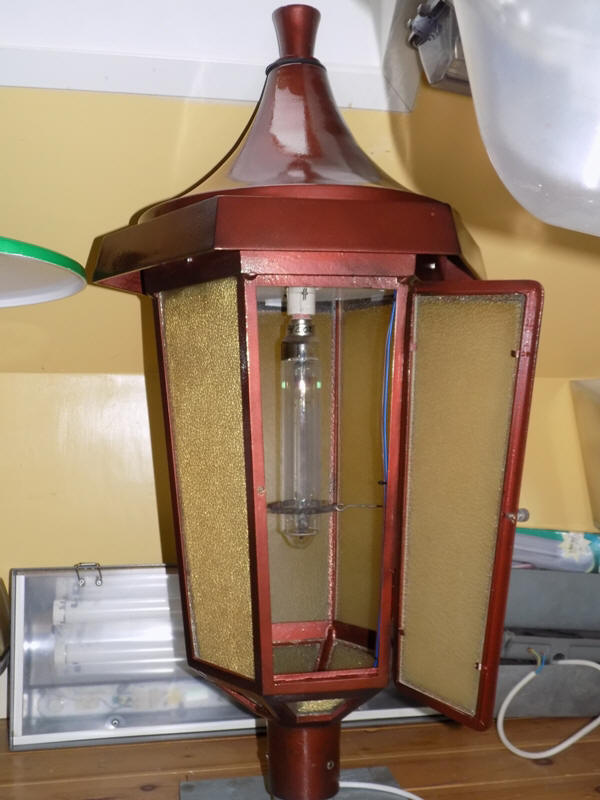

The lantern offered a very attractive lit appearance, with the diffused SOX lamp looking particularly suited to its surroundings.
Lamp warm-up video:
Testing the lantern with my energy monitoring device revealed the following results. As can be seen, the ballast must be under-running the lamp slightly (not that this is noticeable), given that the total power consumption is less than the stated lamp wattage.
| Test Voltage (V) | Current being drawn at full power (A) | Measured wattage (W) | Apparent Power (VA) | Frequency (Hz) | Power Factor | True Power (W) | Difference (W) | Percentage Difference |
| 240.7 | 0.12 | 28 | 29 | 49.8 | 0.98 | 28.31 | -6.69 | -19% |
CLICK HERE TO MAKE A MONETARY DONATION
© 2002 - English Street Lights Online