ESLA - Choosing and installing the Column
Cast iron columns certainly aren't hard to source; however, there is often little choice in antiques centres, and so, when I was given the chance to see a whole pile of them, I paid a visit! With immense thanks to Sharron for arranging the visit, and later, for doing the legwork in having the lantern moved from this site to the sand blasting company.
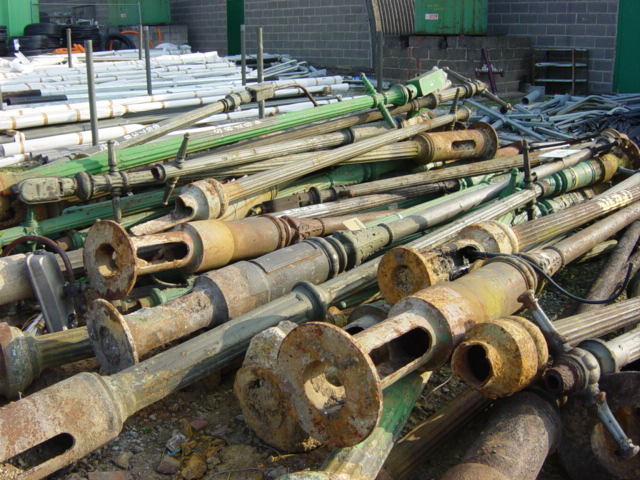
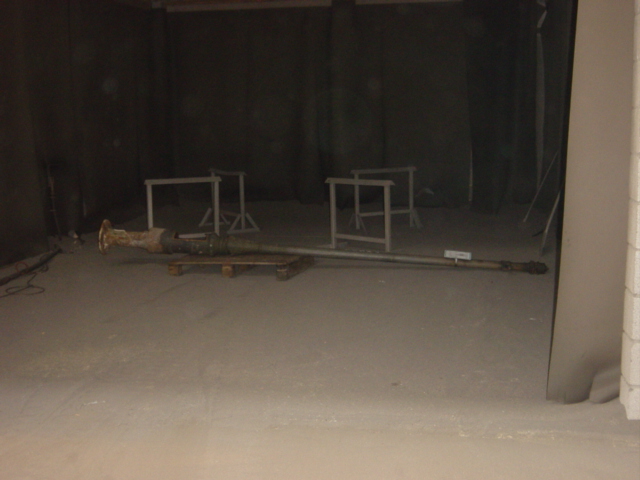
This 'graveyard' has loads of them, as well as modern steel ones in the background - a great place to find yourself!
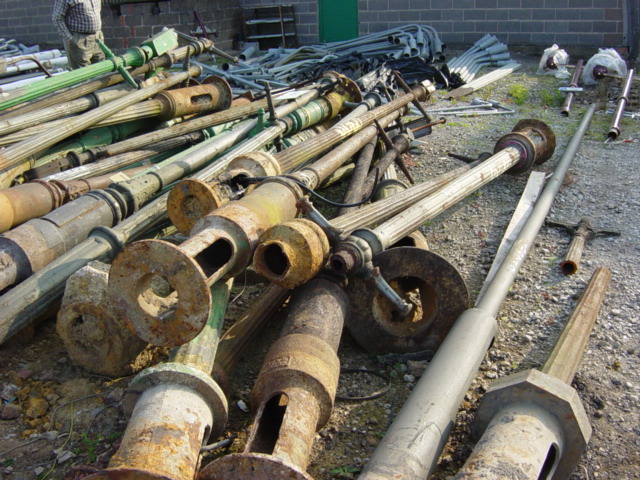
The maroon lanterns and columns in the background are modern replicas - you can tell that they're fakes when you compare them to the columns in the foreground.
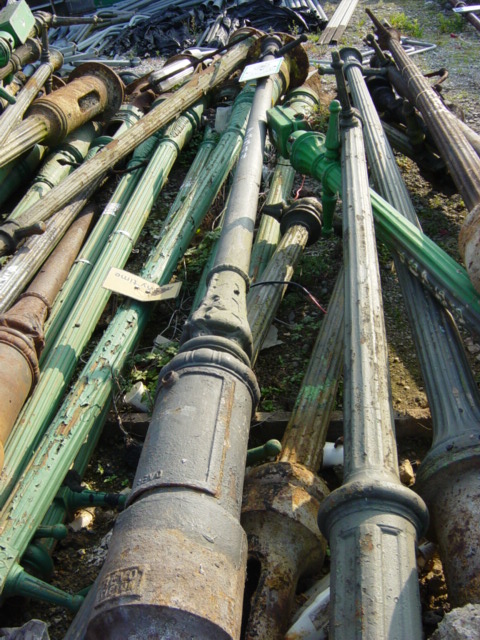
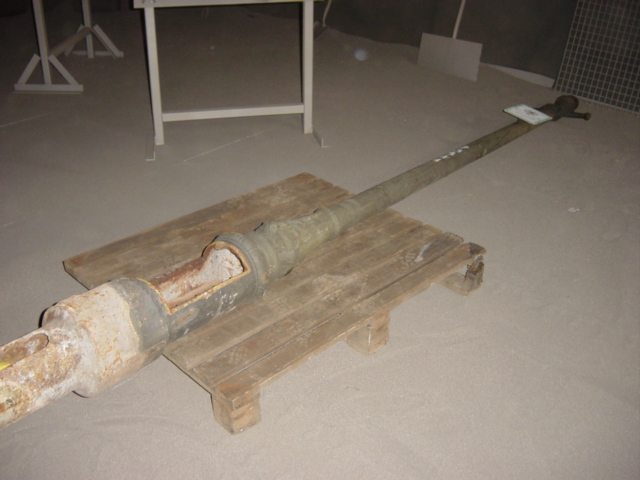
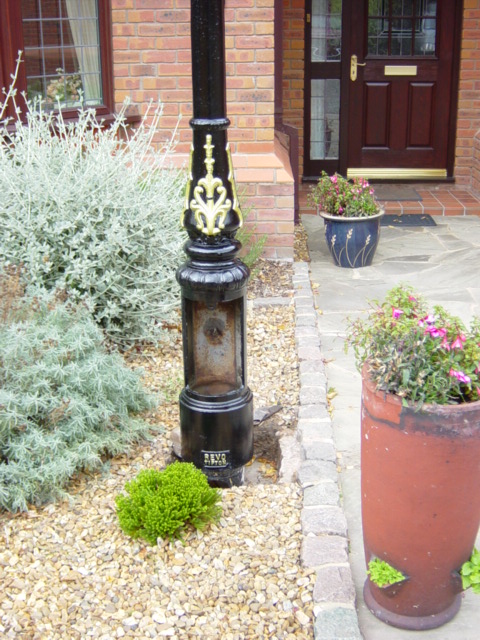
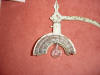
In the end, I settled for this Revo column, due to it having a door, rather than control box below the bracket. I didn't really mind either, it's just that Derby has many Revo columns in use like this one (see Survivors #5), so it looks more authentic. I don't know if I'll keep the 'No dog fouling' sign on it though!
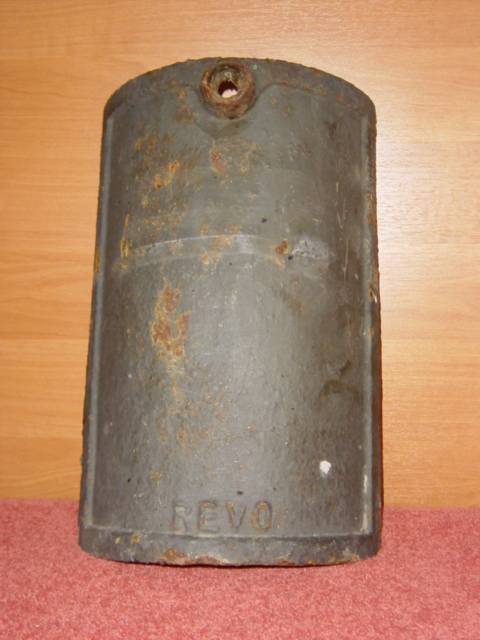
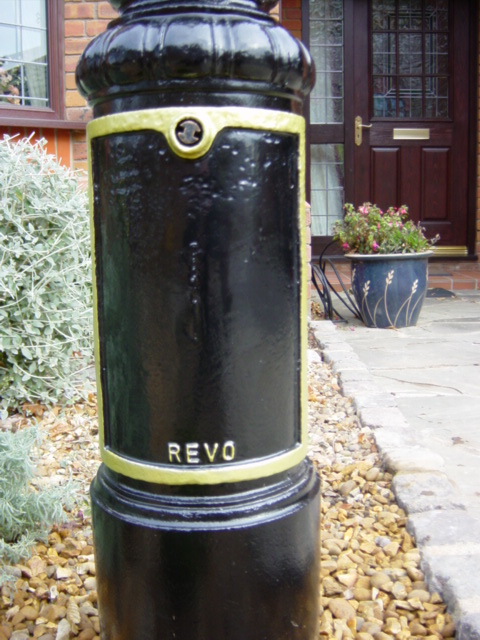
I decided to take the door away with me, to ensure that it couldn't be mislaid when the column was collected . As can be seen, the lock has been removed in the past, meaning that a steel band has had to be fastened around it. There shouldn't be a problem in obtaining a new lock, and as I don't know what type of lock this used (either a Revo two-pin or tri-head), I'm not going to be too worried as to what I get. Click here to see the door after sandblasting and repainting.
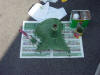
Column 73544 was brought from the yard to a local sandblasting firm on the 11th October 2003. It arrived on a HIAB lorry, and was lowered to the ground, where it was then placed on a wooden palette and brought through into the workshop by means of a fork lift truck. Finally, the column was placed down in one of the enormous sandblasting bays, ready for work. The firm also agreed to paint the column, in order that it could be installed pre-painted.


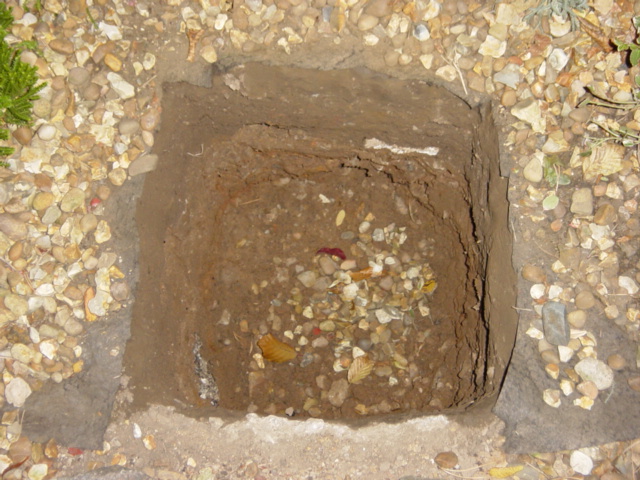
The hole for the column was dug between Wednesday 15th and Thursday 16th October. The depth came to about three feet in the end. It was very hard work, as the soil around my house is full of stones and builder's rubbish, as is the modern way of building houses.
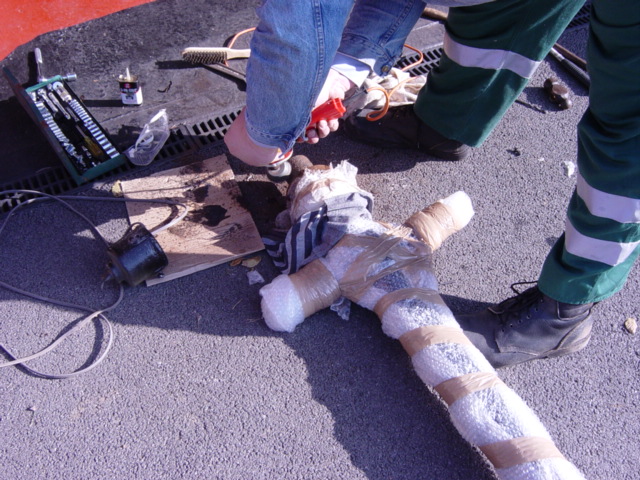
On the 18th, the column was brought round to my house - fully sandblasted and painted! (but covered in bubblewrap.) The spigot from the previous bracket was still on top of the column - it was very badly rusted. I thought that this might be a problem, as the column was due to be going up that day, so I hoped that Jeremy would be able to remove it - he was due to visit to assist in lifting it.
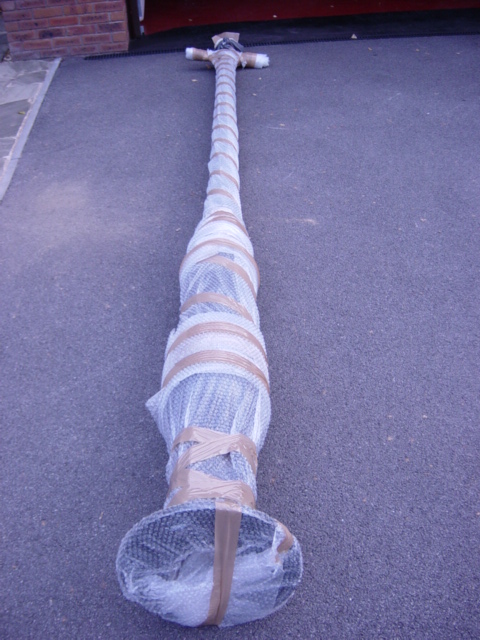
While Dad assisted Jeremy, I surveyed the very heavy parcel that had been placed on the driveway.
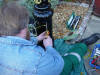
The old spigot certainly didn't give up without a fight! The old bolts had to be drilled out, and then it was levered off. Jeremy then fixed a wire brush into the drill to clean any surface rust from the top of the column.
A view from the second camera.
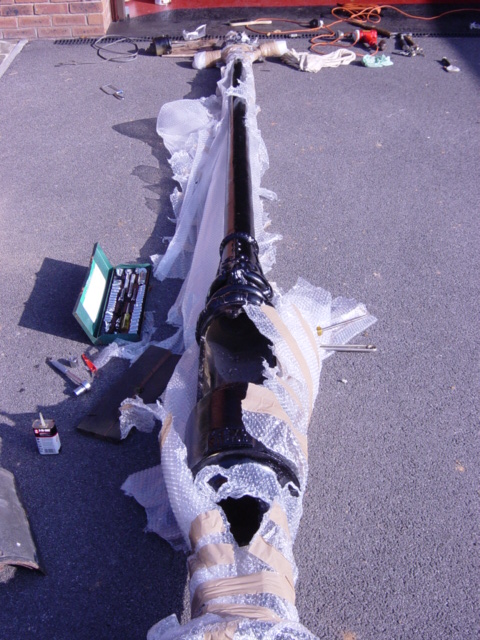
I was pleased when the bubblewrap was removed so I could have a look at the paintwork - it looked a lot better than the last time I had seen it!
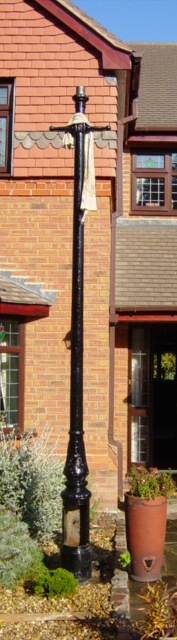
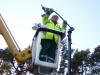
The column was then manhandled into the hole - note that I say 'manhandled'. Cast iron columns are extremely heavy, would you believe! During installation, a length of cloth was wrapped around the ladder bars, in order to avoid the paint finish being damaged, but it was then forgotten about; becoming a scarf of sorts for a time - well, it was October!
The existing backboard was very rotten, and split in half as soon as the large screw holding it in place was loosened; however, these two pieces were perfect to hold the column still whilst the concrete was setting around the base, and so were given a temporary lease of life. Here, Jeremy can be seen mixing the concrete in our wheelbarrow, while I supported the column.
This video was taken during the column's preparation and installation.
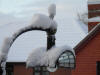
With the column now vertical, the concrete began to set.
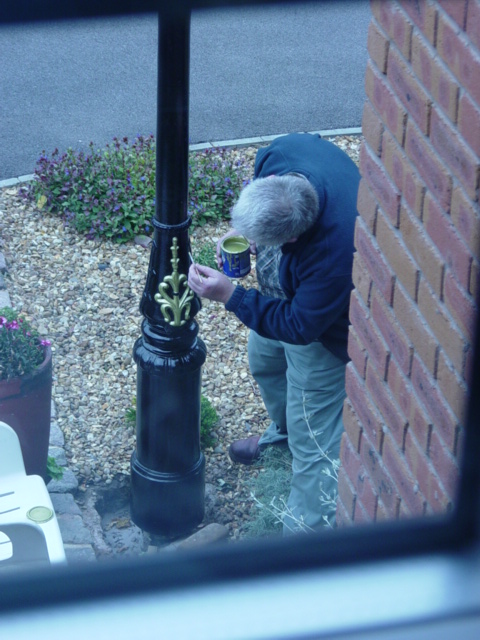
The decoration at base level was highlighted in gold by Dad the following day.
Finally, the door was put onto the column and locked with a genuine Revo bolt. It was sandblasted separately, as I wasn't sure whether or not a 'new' door would be needed, due to the amount of rusting on the back. Luckily, the original door was fine after sandblasting, and so was painted in the gold and black livery as well. The steel wire armoured supply cable for the column is seen coiled up in the background, awaiting connection.
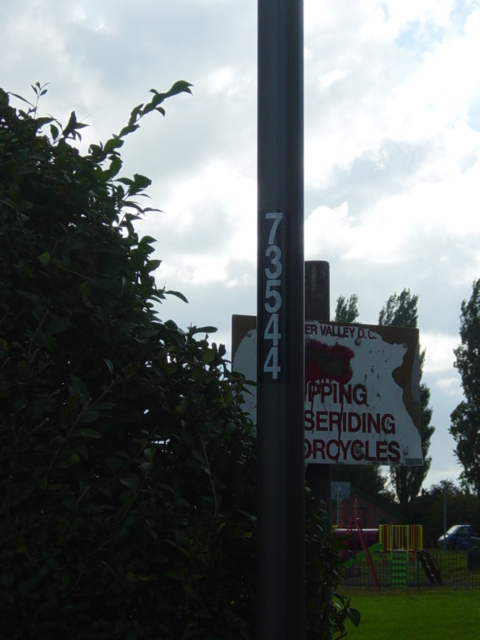
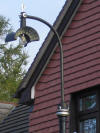
As an afterthought, I decided to try to find out where the column had originally been sited. I had two important things that I knew about the column - the unique identification number and the sort of area of Derbyshire that the column had been in (Amber Valley) from the sign. After speaking to someone from the Council's Street Lighting team, I was told that it came from Park Side, in Somercotes, near the Derbyshire/Nottinghamshire border, so I went to have a look on the 9th October 2004 - almost a year since the column was taken for sandblasting.
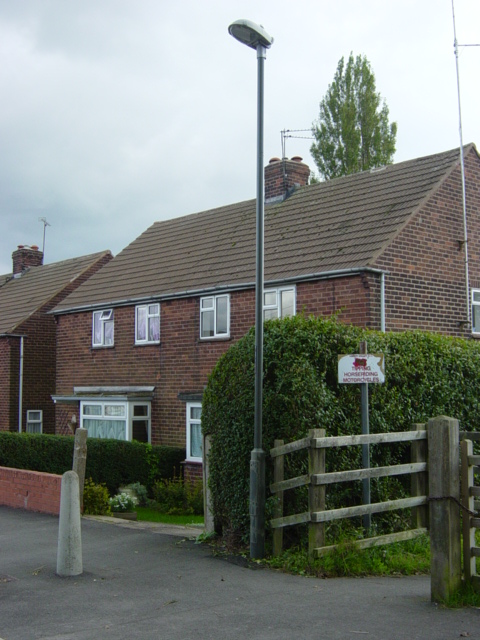
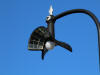
Well, this is the new column 73544 - a Fabrikat 5 m tubular steel with a Philips SGS 101 lantern. The column is at the end of the road, by a footpath leading to the park. The estate that this column is on is quite large, but I couldn't see any other cast iron columns on surrounding roads - in fact, the majority of the columns probably date from the 1970s/80s and the houses themselves look to be of 1950s/60s designs so maybe my column was one of the original columns installed when the estate was new, or was used to replace an earlier column and it just happened to be lying around in the depot at the time. I doubt that the true story will ever surface, but it's still good to know where my column was originally installed.
| The ESLA Project | |||||||
 |
 |
 |
 |
 |
 |
 |
 |
| Preliminary Photographs | Restoration | Being fitted to the Column | Wiring up and Working | An ESLA for all Seasons | Re-lamping | Five Years On | Ten Years On |
CLICK HERE TO MAKE A MONETARY DONATION
© 2002 - English Street Lights Online